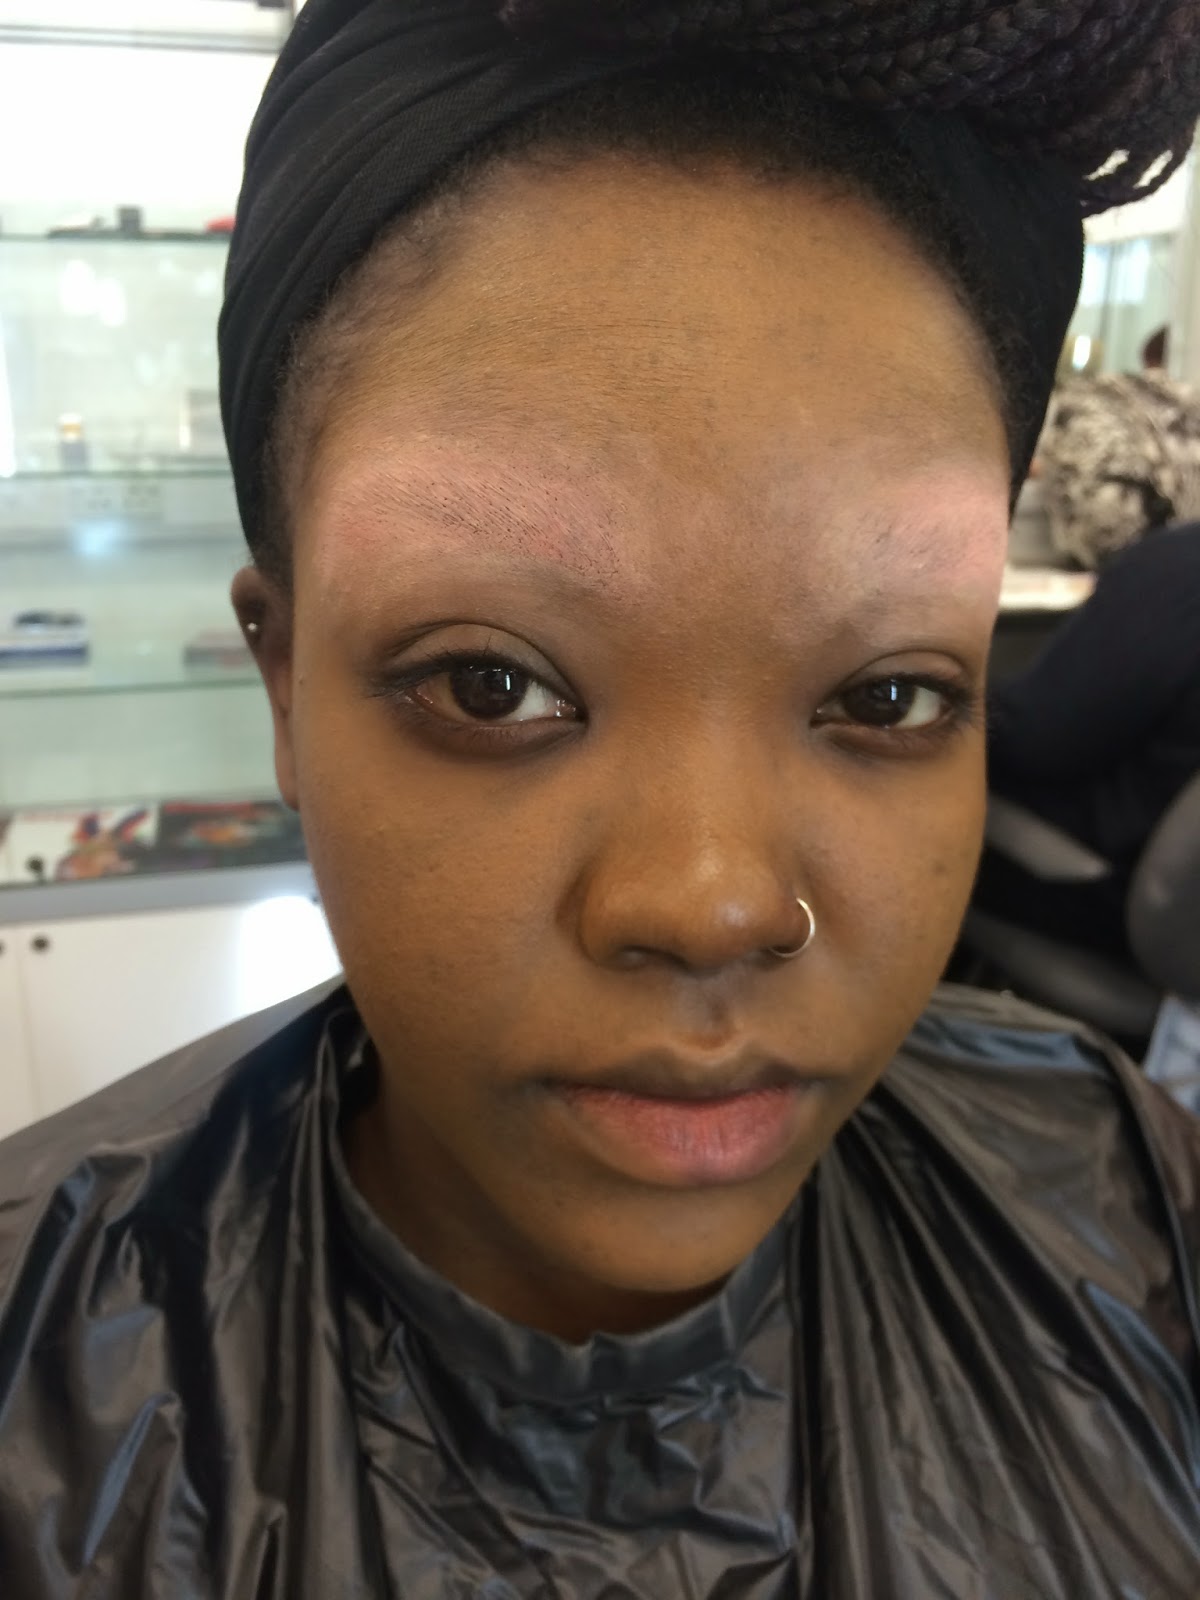

This was my final Practise of my partners make up design before the actual assessment. I started with setting up my work station with all the products I needed to complete the make up design. I started with applying the Illmasaqua primer to her face with a foundation brush and then placed a bar of natural soap in some warm water ready to block the eyebrows out. I used a spatula to scrap away some of the soap and placed it on the back of my hand. I then used my finger to wipe the soap across her brows and used a brow comb to brush her eyebrow hairs upwards. I then created another layer of soap to make sure the whole brow is flat and firm and then I allowed this to dry.
I then started with the base of the make up which was applying Charles fox derma colour camouflage concealer colour D13 to the whole face to create a flawless under coat. When the eyebrows were dry I applied colour D1 and then D32, this was to block out the colour of the brows ready for the top coat of make up to make sure they look completely gone. D32 is like a dark red skin tone so over the top of this colour I reapplied D13 which is the correct concealer colour for my partners skin.
Once the base was completed I then applied the foundation which was by Mary Kay and this was mixed with Charles fox supra colour gold. This was to skin a glowing gold tint to the foundation and give a flawless coverage. With my foundation brush I applied the gold tinted foundation over the whole face, ears and neck. This gave the final coat on the brows which made them completely disappear.
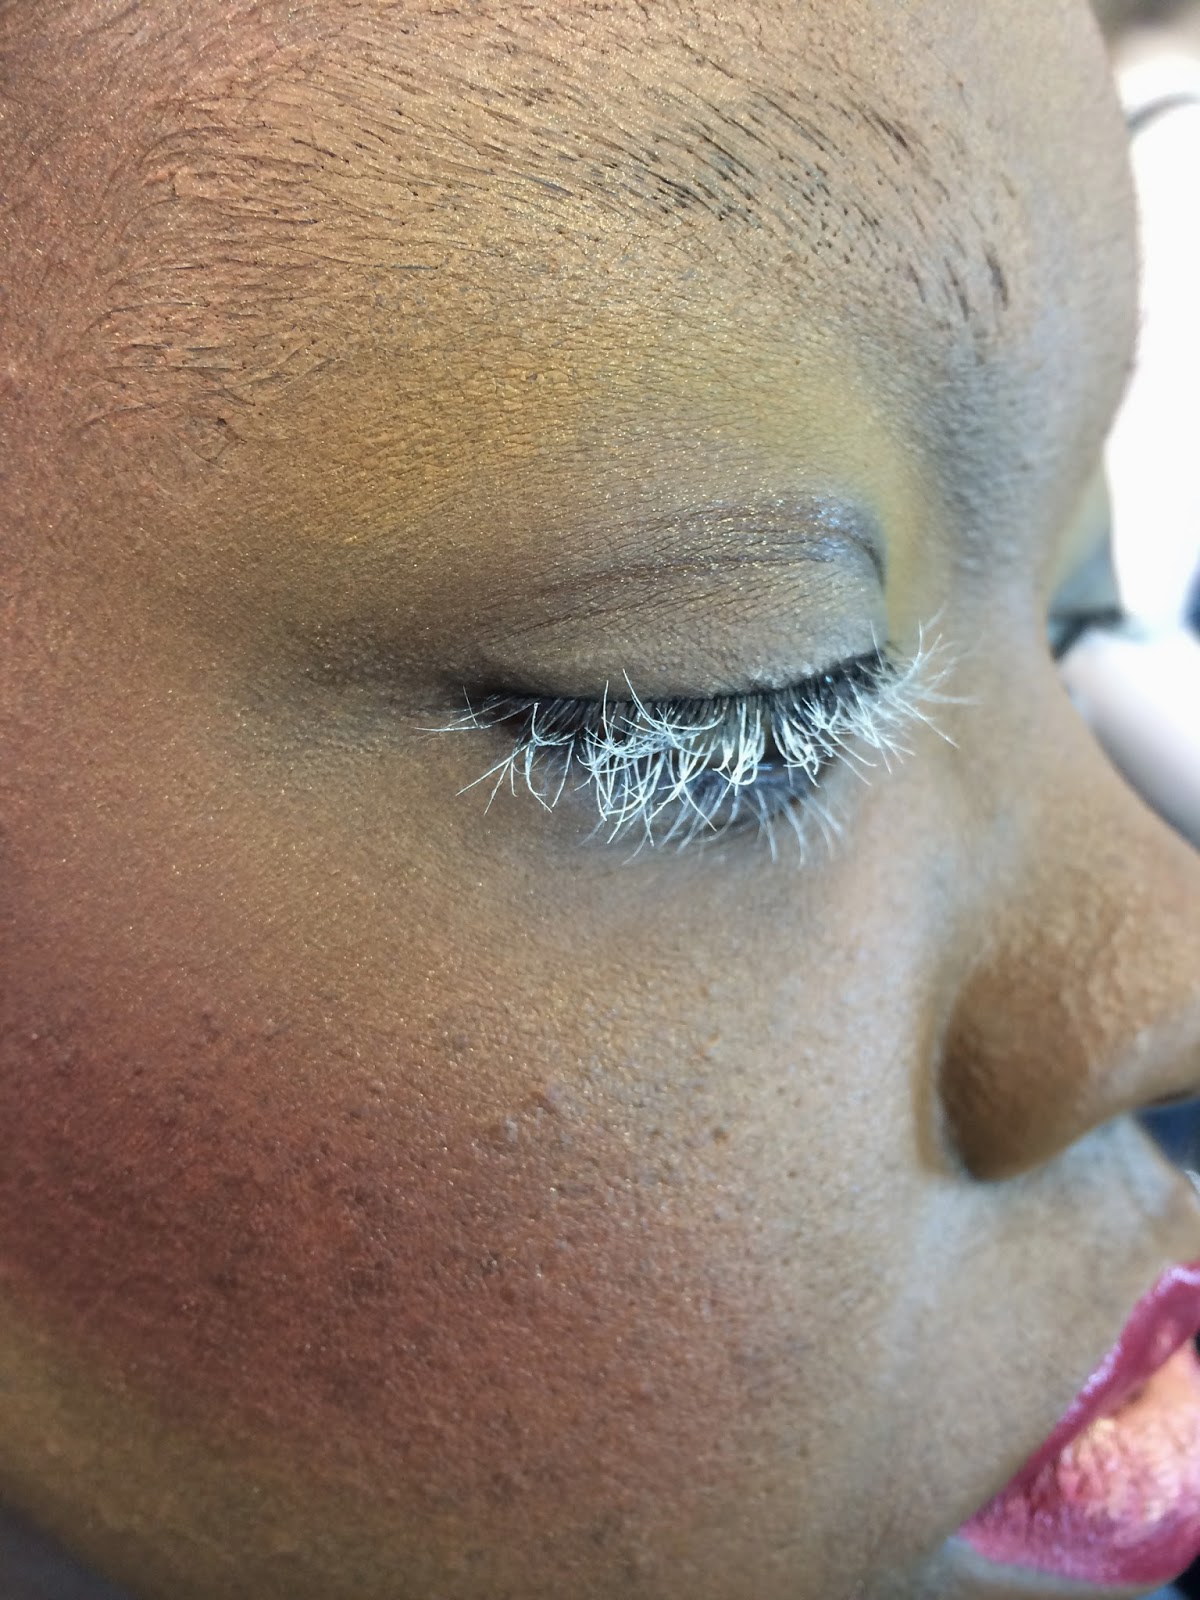
Next was the powdering and contouring of the face, I started with powdering the face with the Illamasqua white loose powder this was to set the makeup and give a matte look. I then started working on the eyes, I used a mix of yellow and orange from the Charles fox Viva Brilliant colour palette and applied this round the corners of the eyes and over the lids. For the cheek I used a red blush from the Charles Fox blusher palette and applied this under the cheeks, the sides of the temple and slightly up the side the forehead and blended at the top of the forehead. I used an angled bush brush to contour the face this was to give accurate precision.
 Next was the eyelashes, on the design the eye lashes were white, I didn't have a white mascara so I used a disposable wand and used the Charles fox supra colour in white for the lashes. I did this by placing some of the paint on the back of my hand and rubbing the wand in the paint. When applying the mascara I started at the roots and wiggled up through the lashes to give a full coverage.
  With the lips we slightly changed the lips during our last make up experiment as we went from a yellow/gold to a red in the middle and at the end we decided we preferred the red on the outer lip and gold in the middle. I used the mini lip rouge palette for the red this was colour LC008 and in the middle was gold supra paint by Charles Fox and used a small lip brush to apply the product.
This was the design complete, we then went to the studio next door where we took some photos and looked at the make up through the camera to see what it looked like and what could be improved or enhanced for the camera.
 |
| Full Make up design |
 |
| Close up to the eyes and brows |
 |
| Close up to the lip application |
 |
| photo of the make up taken in the studio for testing |
 |
| Another shot |
I went back to my station and tried to improve my look so it was camera ready. I applied more red blush on the cheeks and temples, I applied more yellow over the lids to create more definition for the camera. Another thing I needed to concentrate on was the shine on the nose and forehead, what I did to improve it was apply regular foundation on the forehead to cover the gold a little more so its not as glowing and then I powdered over the forehead and more on the nose.
 |
| This was the final outcome of my improved look |
 |
| hand palette of colours used |
.JPG)


No comments:
Post a Comment